
Although time in the kitchen is genuinely more of a chore for me, there are a few things that I just genuinely enjoy making and almond milk is one of those things. Almond milk is really simple to make, affordable, and much better for you then just buying it in the store! I swear, if everyone knew how simple this was, nobody would ever buy the stuff in a carton… By making it on your own you are avoiding about 13 different unnecessary (and not very healthy) ingredients. It tastes fresh, light and delicious! Once you know how simple it is to make your own, you honestly may RARELY go back to buying it in the store, if ever…
Almond milk is great in smoothies, and breakfast cereal. My family has gotten to the point where we even like using it as a substitute for cooking with regular milk. We basically use it in almost everything.
Are you excited to get started? Okay… 🙂
You will need:
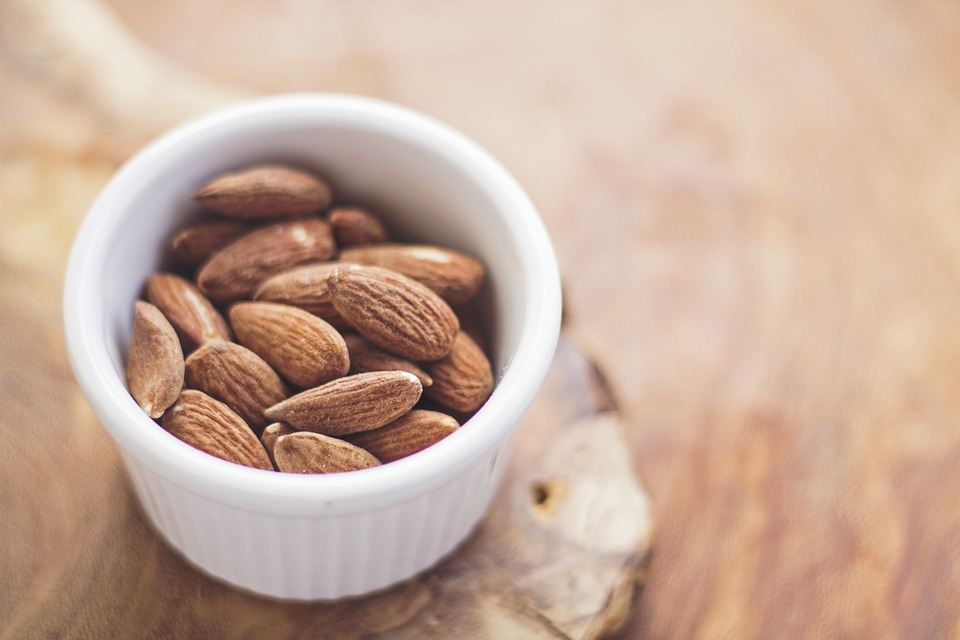
2 cups of almonds
4+ cups of clean drinking water
pinch of salt
vanilla (optional)
2-4 dates (optional)
You will also need:
– a good blender (I recommend the BlendTec)
– Cheesecloth or a Nut Milk Bag (I personally ONLY use the Nut Milk Bags because they are much easier to use and they last longer)
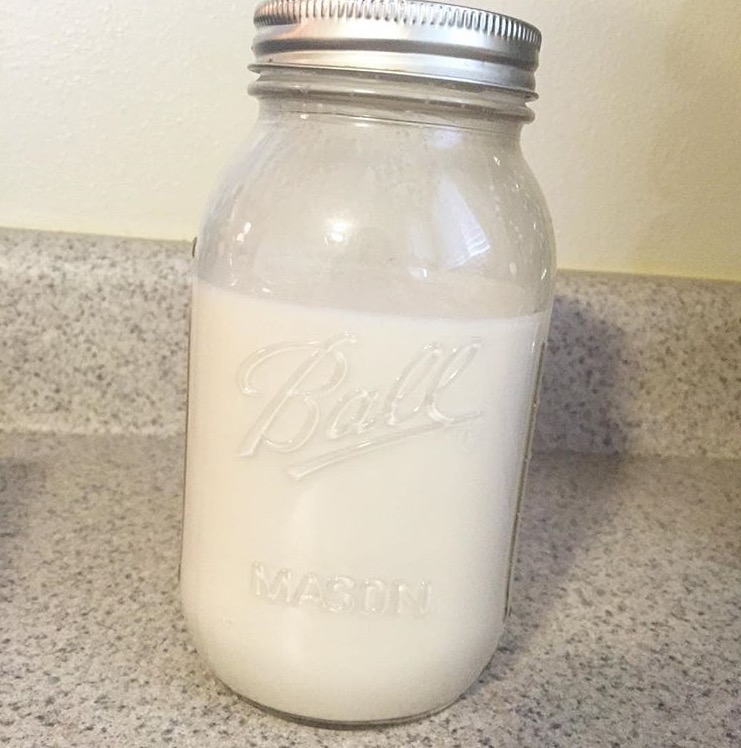
– a glass container like a milk jar
Steps
Step 1
Soak your almonds overnight.
Pour 2 cups of almonds into a mason jar and fill the rest up with water. I like to cover the mason jar with a paper towel and wrap it with a hair elastic so it is covered in the fridge. Let the almonds soak up the water over night and by morning, you’ll be ready to blend up your fresh milk. The almonds will be plump and much softer.
Step 2
Strain and rinse your almonds.
Before blending, you want to make sure your almonds are rinsed off and clean from all the foggy water it was soaked in. Just strain it through a strainer and run your fingers through it under some cool water.
Step 3
Blend the almonds with clean drinking water.
Pour the almonds into the blender with your 4-6 cups of cool, clean drinking water. The amount of water you choose will depend on how creamy you like your finished product. I personally like my almond milk to be more thin and light, so I like about 6 cups of water. It is better to start with less and add water as you go.
Step 4
Separate the almond milk from the almond meal.
Pour everything into a nut milk back (or cheesecloth) over a glass bowl or container. Slowly twist and squeeze the bag with CLEAN hands to get as much of the fresh milk out of the bag. Do this multiple times until you feel like the almond meal is strained out completely. (Don’t immediately throw away the almond meal… There are plenty ways to use that in your cooking as well.)
Step 5
Blend in other ingredients to your liking.
You can add more water if your milk isn’t thin enough for your liking. 2 cups of almond milk to 4 cups of water will make your consistency similar to 2%.
A pinch of salt really goes a long way in giving your almond milk that yummy almondy taste.
Sweeten your almond milk with pitted dates. (2-4 dates is really nice, play around with the amount of sweetness you prefer.)
Last, you can add a small amount of vanilla. (This is obviously totally optional. I personally prefer the original flavor, so I almost never add vanilla. experiment with what you like)
Step 6
Refrigerate in a glass container in the fridge.
Fresh almond milk only lasts in the fridge for a few days, so be sure to only make as much as you or your family will drink/use in that time. Enjoy your fresh nut milk in all sorts of things from smoothies to hot or cold cereals. 🙂